
A fast, repeatable system to stop overthinking and start promoting
 I watched someone spend three full days researching affiliate offers last week. Seventeen browser tabs open, two spreadsheets going, a notebook filled with pros and cons. They promoted nothing.
You don’t need the “best” offer. You need one that’s ready to promote right now.
This post gives you a process to quickly find ten affiliate offers that you can start promoting today.
What “Ready-to-Promote” Actually Means
A ready-to-promote offer has three qualities. It’s already converting for other affiliates, which means you’re not gambling on an untested product. It comes with promotional assets like email swipes, landing pages, or video sales letters, so you don’t need to create everything from scratch. And it doesn’t require you to build a custom funnel or technical setup before you can start.
That’s it. Ready-to-promote doesn’t mean it’s the highest-paying offer in existence or that it’s perfectly aligned with your long-term brand vision. It means you could send traffic to it this afternoon and make a sale.
The Only Rule Before You Start
You’re building a shortlist and testing what resonates with your audience, not picking the one perfect offer you’ll promote forever. Speed matters more than certainty because every hour you spend researching is an hour you’re not learning from real promotions.
Now let’s get into the process.
Step 1: Start Inside the Affiliate Network (Not on Google)
Most people open Google and type “best affiliate offers for [whatever]” and then fall down a rabbit hole of blog posts written by people who may or may not have promoted anything recently.
Don’t start there.
Go directly into an affiliate network dashboard. If you’re not signed up anywhere yet, create free accounts at ClickBank, ShareASale, or CJ Affiliate. All three have massive marketplaces and you can get approved in minutes.
 Once you’re inside, start by filtering to categories that are in the general vicinity of your audience’s interests. If your audience cares about business growth, look at business tools, marketing software, productivity courses, or even financial planning. If they’re interested in health, you could explore fitness, nutrition, wellness, or mental health. Don’t worry about finding the perfect niche match, just avoid categories that have zero connection to what your audience actually cares about.
After you’ve selected a relevant category, look for filters or sorts labeled “Top Offers,” “Trending,” “Popular,” or “Best Sellers.” These are usually in a dropdown menu or sidebar.
What you’re looking for right now isn’t the perfect match for your audience. You’re looking for volume and visibility within that general area of relevance. These top-performing offers are already validated, other affiliates are making money with them, and they have proven sales pages and conversion data.
Your goal at this stage is simple: surface pre-validated offers fast. You want to see what’s actually working in the market right now, not what someone blogged about eighteen months ago.
Step 2: Apply the 3 Fast Filters That Matter
Now you’re looking at dozens or hundreds of offers. Here’s how you narrow that down in seconds.
Filter #1: Popularity or performance indicators. Most networks show you some version of this. ClickBank has a “Gravity” score. ShareASale shows EPC (earnings per click). CJ Affiliate displays network earnings. You don’t need to understand every metric perfectly. You just need to sort by these numbers in descending order so you’re looking at what’s working.
Filter #2: Conversion signals. Look for offers that show high conversion rates or strong affiliate support ratings. You’re not doing deep analysis here. You’re just checking that the offer isn’t a ghost town. If there are thousands of active affiliates or consistently high conversion percentages, that’s a green light.
Filter #3: Allowed traffic sources. This one’s critical. Click into the offer details and check what traffic methods are approved. If you plan to promote via email, make sure email marketing is allowed. If you’re running paid ads, verify that Facebook or Google ads are permitted. An offer might look amazing until you realize your preferred traffic source is blocked.
What you’re ignoring: complex metrics you don’t understand yet, overly technical stats about refund rates or backend conversion funnels, and anything that requires a calculator to interpret.
The result of these three filters: you’ve gone from hundreds of offers to a short list in a minute or two.
 Step 3: Scan the Offer Page for “Done-for-You” Assets
Click into each shortlisted offer and scroll down to the affiliate resources section. You’re looking for three specific things.
First, video sales letters or pre-made landing pages. If the merchant has a video doing the selling, you don’t need to write long-form copy. You just need to drive traffic. That’s a massive time-saver.
Second, email swipe files. These are pre-written promotional emails you can customize and send. Even if you rewrite them completely, they give you angles and frameworks to start from instead of staring at a blank screen.
Third, landing pages or complete funnels. Some offers come with tested, high-converting pages you can send traffic to directly. Others require you to build something custom. At this stage, you want the path of least resistance.
If an offer has all three of these assets, that’s perfect. If it has one or two, it’s still viable. If it has none and you’d be starting from absolute zero, move on.
Step 4: Use the 30-Second “Would I Promote This?” Test
Before you add an offer to your shortlist, run it through three quick gut-check questions.
 Do I understand who this is for? If you can’t immediately identify the target customer in your head, you’ll struggle to write about it or find the right traffic sources. The answer doesn’t have to be “my exact audience.” It just has to be clear.
Is the value clear immediately? Look at the sales page headline or the first section of the video. Can you tell what problem this solves and why someone would buy it? If you’re confused, your audience will be too.
Could I explain this to someone else quickly? Imagine describing this offer to a friend in two sentences. If you can do that easily, the offer passes. If you’d stumble over your words or need five minutes to clarify, it’s probably too complex or unclear.
This gut check works better than deep analysis because it tests the one thing that actually matters: whether you can communicate the offer’s value. If you can’t, it doesn’t matter how high the commission is.
Move on fast if any answer is no. You’re building a shortlist, not trying to force something to work.
Step 5: Repeat the Process Across 2–3 Categories
Don’t stay in one category the whole time. If you started in business and marketing offers, jump over to health and wellness or personal development. If you began with software, check out info products or physical goods.
Switching categories increases the quality of your shortlist quickly because it prevents you from getting stuck in analysis paralysis comparing similar offers. It also helps you see different promotional styles and asset types, which teaches you what’s possible.
Your target is simple: three to four offers per category. That gets you to ten total offers without feeling overwhelming or taking more than a few minutes.
Step 6: Sort Offers Using a Yes / Maybe / No System
You’ve now got ten to fifteen offers in front of you. Here’s how you organize them for action.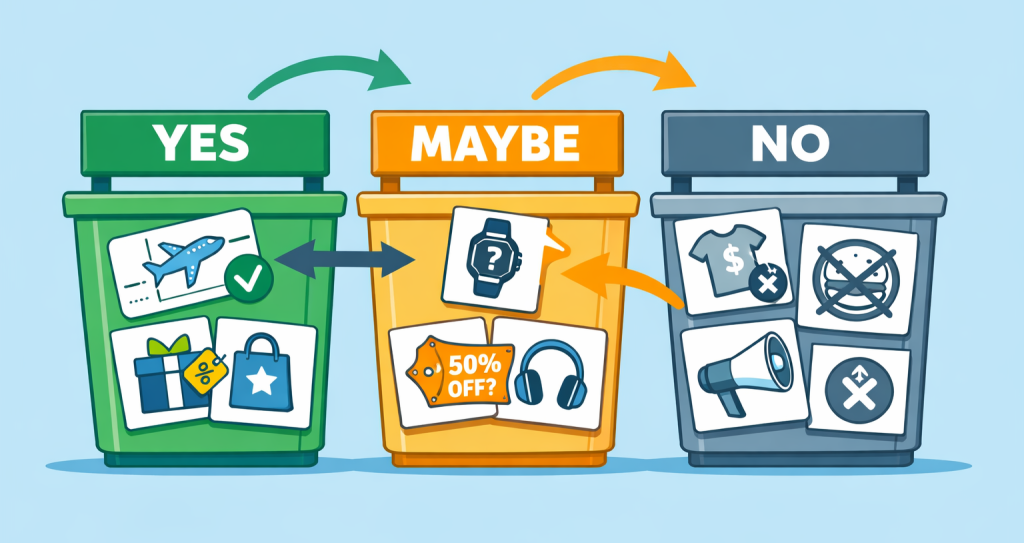
Yes means you could promote this today. The offer is clear, the assets are there, and you understand the audience. Put these at the top of your list.
Maybe means the offer is interesting but you’d need to think through the angle or the traffic source. These go in a “save for later” folder. You’re not deleting them, but you’re not promoting them this week either.
No means something’s off. The sales page is confusing, the commission structure is weird, or you just don’t feel it. Ignore these completely.
Binary decisions like this help to keep your momentum high.
Optional Speed Boost: Use AI to Scan Offers Faster
If you want to move even faster, paste an offer’s sales page URL into ChatGPT or Claude and ask: “Who is this offer targeting and what’s the main value proposition?”
The AI will summarize the offer in seconds, which helps you clarify the audience and angle without reading three thousand words of sales copy. You can also ask it to identify the main pain points the offer addresses or suggest potential promotional angles.
One thing to remember: AI supports speed, not decision-making. It helps you understand an offer faster, but it can’t tell you whether you should promote it. That’s still your call based on your audience and traffic sources.
What to Do Immediately After You Have Your 10 Offers
Don’t try to promote all ten offers. Choose one or two from your “Yes” category and match each to a single promotion method. If you have an email list, pick one offer to email about this week. If you’re creating content, choose one to write a review or comparison post around. If you’re running paid traffic, select one to build a quick campaign for.
 The emphasis here is on same-day action. You’ve spent ten minutes finding offers. Spend the next hour actually promoting one of them. That’s how you learn what works.
Common Mistakes That Slow This Process Down
Four things kill momentum when you’re finding offers.
First, chasing high commissions without looking at conversion rates. A fifty percent commission on a product that never sells is worth zero dollars. A twenty percent commission on something that converts well makes you money.
Second, over-researching competitors. Yes, it’s useful to see how others promote an offer eventually. But not in the first ten minutes. You’re looking for viable offers, not copying someone’s entire strategy.
Third, waiting for confidence. You will not feel completely certain about an offer before you promote it. Confidence comes from testing and getting results, not from reading more reviews.
Fourth, switching offers too often without actually testing them. If you find ten offers, promote two of them, send some traffic, and then immediately go looking for ten more offers, you’re just procrastinating with extra steps.
The 10-Minute Action Plan
Here’s the checklist you can follow right now:
Open your affiliate network dashboard and navigate to the marketplace. Apply the three filters: popularity, conversion signals, and allowed traffic sources. Scan the top offers for done-for-you assets and run them through the thirty-second gut check. Repeat this across two to three different categories. Sort your findings into Yes, Maybe, and No buckets.
You now have ten promotable offers that you can get started with today.
Ready to start promoting? Try LaunchPad Pro free for 14 days and build high-converting landing pages for your affiliate offers in minutes—no tech skills required.

