
You’ve got a supplier tab open. Maybe a spreadsheet with a few product ideas, a couple of quotes, and a number at the bottom that’s somewhere between $500 and $2,000. Q4 is coming, and this is the year you finally do it.
You’re about to spend real money on inventory, and you’ve never once packed a box and sent it to a stranger who paid you for it.
The risk isn’t your product pick. You can research that. The risk is that you’ll be learning how to photograph, price, list, ship, and talk to buyers for the very first time, with a garage full of stock and your own cash already gone. That’s a rough place to learn.
So don’t learn it there. Learn it this weekend instead, for a $200 upside instead of a $2,000 downside, using stuff already sitting in your house. That pair of barely-used headphones on the shelf. The kitchen gadget still in its box. You don’t need to buy a single thing to run the entire process start to finish.
What you’ll have by Sunday night
This isn’t a clear-out. It’s a rehearsal. Run it properly and by Sunday you’ll have:
- Five real listings, live and public
- The first four selling jobs done, and your first item boxed and ready to ship
- Your first sale, and a packed box with a tracking number, as soon as one of them sells
- A note of the exact question a buyer asked before they paid
- A real gut read on whether you actually like this work
That last one is worth more than the $200.
The Five-Job Weekend
You’re not building a business this weekend. You’re rehearsing the five jobs an online seller does over and over, on low stakes, with inventory that cost you nothing. Do each one once now and it stops being scary later.
One note before you start. This is hands-on physical selling, which is the fullest version of the work. If you’re heading toward dropshipping, you won’t personally pack every order, but you’ll still rehearse listing, pricing, and buyer messaging here, and those are the parts most people get wrong. The photos and the shipping are a bonus lesson.
Job 1: Pick five things you’d sell to a neighbor today
Walk through your house and grab five items a stranger would actually pay for. The bar is simple:
- Good candidates: electronics that work, brand-name clothing in good condition, small kitchen appliances, tools, games, anything boxed and barely used.
- Skip these: anything broken, anything stained or worn out, anything so cheap the shipping costs more than the item.
Five, not fifty. The point is to finish the loop, not to empty the loft. You can always list more next weekend once you know the ropes.
Job 2: Photograph so a stranger trusts you
Photos decide more sales than price does. A buyer can’t hold the item, so the pictures are the only proof it’s real and worth the money.
You don’t need a camera. Your phone is fine. What you do need:
- Natural light. Near a window in the daytime, no flash.
- A plain background. A blank wall or a clean table, nothing cluttered.
- The flaw shown on purpose. The scuff, the missing cable, the worn corner. Hiding it gets you a refund request; showing it builds trust.
- Something for scale. A hand or a common object so the size is obvious.
This is a skill you’ll lean on for almost any product you sell. Practising it on your own headphones costs you nothing.

Job 3: Price to sell this weekend, not to win
Most first-timers price for the best possible outcome and then wait a month for a sale that never comes. You want the opposite: a sale by Sunday.
- Look up your item on the marketplace and filter to sold listings, not active ones.
- Active listings show what people are asking. Sold listings show what people actually paid. Only the second number is real.
- Price at or just below that sold band. The first sale matters more than the last $5.
Getting the money into your account is what you’re practising here. You can optimise for profit once you know the process works.

Job 4: List where the buyers already are
Don’t agonise over the perfect platform. Match the item to where its buyers hang out and move on:
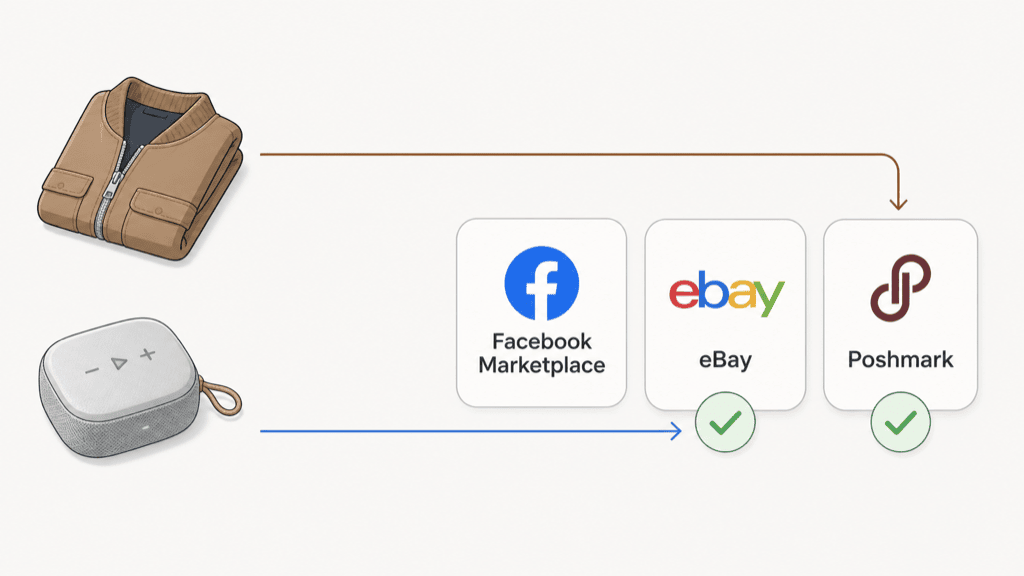
- Facebook Marketplace for furniture, appliances, and anything easier to hand over locally.
- eBay for electronics, collectibles, and anything worth shipping.
- Poshmark or Vinted for clothing and accessories.
When you write the listing, describe the item the way a buyer would search for it: the brand, the model, the size, the condition. That’s product-copy practice in miniature, and it’s the same muscle you’ll use writing descriptions for a real store.
Job 5: Ship it, then catch the question
This is the job most first-timers have never done, and it’s the one that quietly kills confidence when it stays untested.
Packing is simpler than you think. Use a padded envelope or a right-sized box you already have, enough protection that it survives a drop, and a printed label. Before you list, weigh the packed item and measure it so you set postage correctly, and check how long the marketplace gives you to dispatch once it sells. The tracking number is the part that matters, because the moment you can watch a package move toward a stranger who paid you, the whole thing stops feeling theoretical.
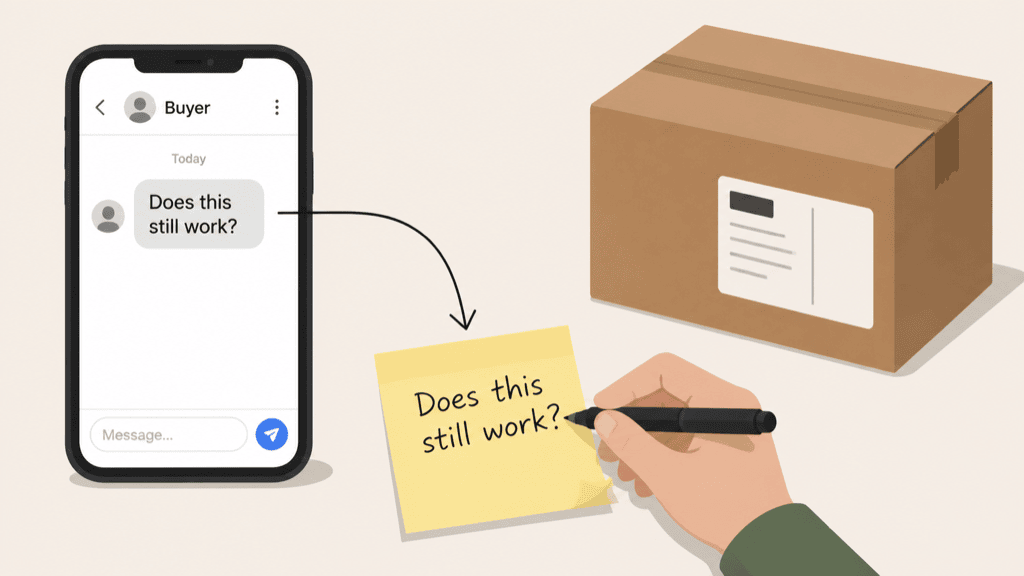
There’s a second lesson hiding in this job. If a buyer messages you before they commit, write down what they asked. It’s usually something plain like “does this still work?” or “can you ship it faster?” You don’t need to read the future into it, but that little pile of real questions is the start of understanding what buyers worry about before they hand over money. That instinct is worth having before you’re fielding it at Q4 volume.
Does $200 actually add up?
Fair question, so let’s do the math rather than wave a number around.
Here’s a realistic basket. An old phone or tablet at $90, a brand-name jacket at $45, a small kitchen appliance at $35, and two games or gadgets at $20 each. That’s around $210 in sales before fees, and marketplace fees plus shipping take a slice, so figure $165 to $195 actually landing with you. Swap in whatever you’ve got and the number moves with the items. If you’re mostly selling $15 odds and ends, you’ll land lower, closer to $75 to $120, and that’s fine too.
A couple of caveats. Some items won’t sell this weekend, and you’ll relist them, which is normal. And the money doesn’t hit your bank the second someone pays: marketplace payouts often sit processing for a few days before they clear. So treat the $200 as a target rather than a promise, and treat the money as a nice byproduct.
One thing this weekend won’t tell you: what to actually sell in Q4. What moves fast from your own shelves depends on condition, your local buyer pool, and a one-off price, none of which predicts demand for new inventory you’d source and stock. Going through it once is the point.
Here’s how that plays out in practice. A retiree I’d expect to freeze at “photograph it properly” instead reshot a dead listing near a window, and it sold the same afternoon, which taught her more about product photos than any tutorial would. A side-hustler noticed every single buyer asked the same shipping question and realised that was the FAQ his future store would need on day one. And someone eyeing dropshipping priced three items for top dollar, got silence, dropped to the sold band, and cleared all three in a day. Different lessons, same weekend, none of it costing more than an afternoon.
Why this is worth a weekend
Most people don’t stall before Q4 because they can’t pick a product. They stall because the work is abstract. It’s a list of things they’ve read about but never done, and abstract work is easy to keep putting off.
A $200 weekend turns “I think I could do this” into “I’ve done this.” And confidence built on a real box you actually shipped holds up far better than confidence built on a course you watched, especially in the moment when the inventory money is genuinely on the line. You’ll have already done the scary parts once, when they were cheap.
Do this before Sunday night
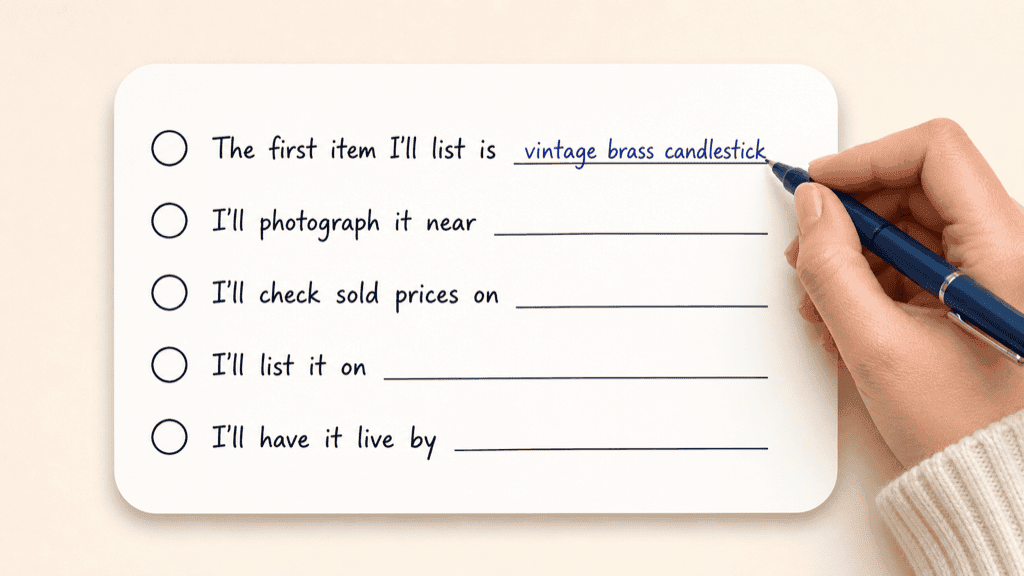
Don’t close the tab on a good intention. Open a note on your phone right now and fill in these five lines:
- The first item I’ll list is ___
- I’ll photograph it near ___ (which window or light)
- I’ll check sold prices on ___
- I’ll list it on ___
- I’ll have it live by ___
Five blanks. Two minutes. Once those are filled in, the weekend has already started.
“But what if…”
“What if nothing sells?”
Then you still ran the first four jobs, which is most of the learning. Rehearse the fifth too: pick your packaging, weigh one item, and price the postage so it’s boxed and ready the moment it does sell. Re-price to the sold band, relist, and it usually moves.
“What if I don’t want to sell my own stuff?”
You’re not clearing out your house. You’re borrowing five low-value items as a training set. Anything that doesn’t sell, you keep. Anything that does, you can replace later if you miss it.
“What if this has nothing to do with the store I actually want to build?”
The product is different. The core selling jobs are the same. You’ll make these same decisions hundreds of times once Q4 is real, so rehearsing them now, on things that cost you nothing, is the cheapest practice you’ll ever get.
The gap between the people who build a Q4 business and the people who only plan one is almost always a single completed loop: one item photographed, priced, listed, sold, and shipped.
The first $200 barely matters. The first box you ship to a stranger changes what you believe you’re capable of, and that’s what you carry into the season that counts.

